

Create a workflow
What this achieves
Section titled “What this achieves”A workflow is a reusable approval route: define it once, and every request of that kind follows it. Creating one sets up the record and its first draft; nothing routes through it until you design, publish, and bind it.
Required role: Administrator.
- Go to Approvals → Workflows.
- Select New Workflow.
- Enter the Name. Name it after the request it handles, not after the department that owns it.
- Leave Code blank unless you have a naming standard of your own. A code is generated if you do not supply one.
- Write a Description that says what the workflow decides.
- Set a Category so the list stays navigable as the number of workflows grows.
- Add the Trigger Resource Types this workflow is meant for, pressing Enter or comma after each.
- Select Create workflow.
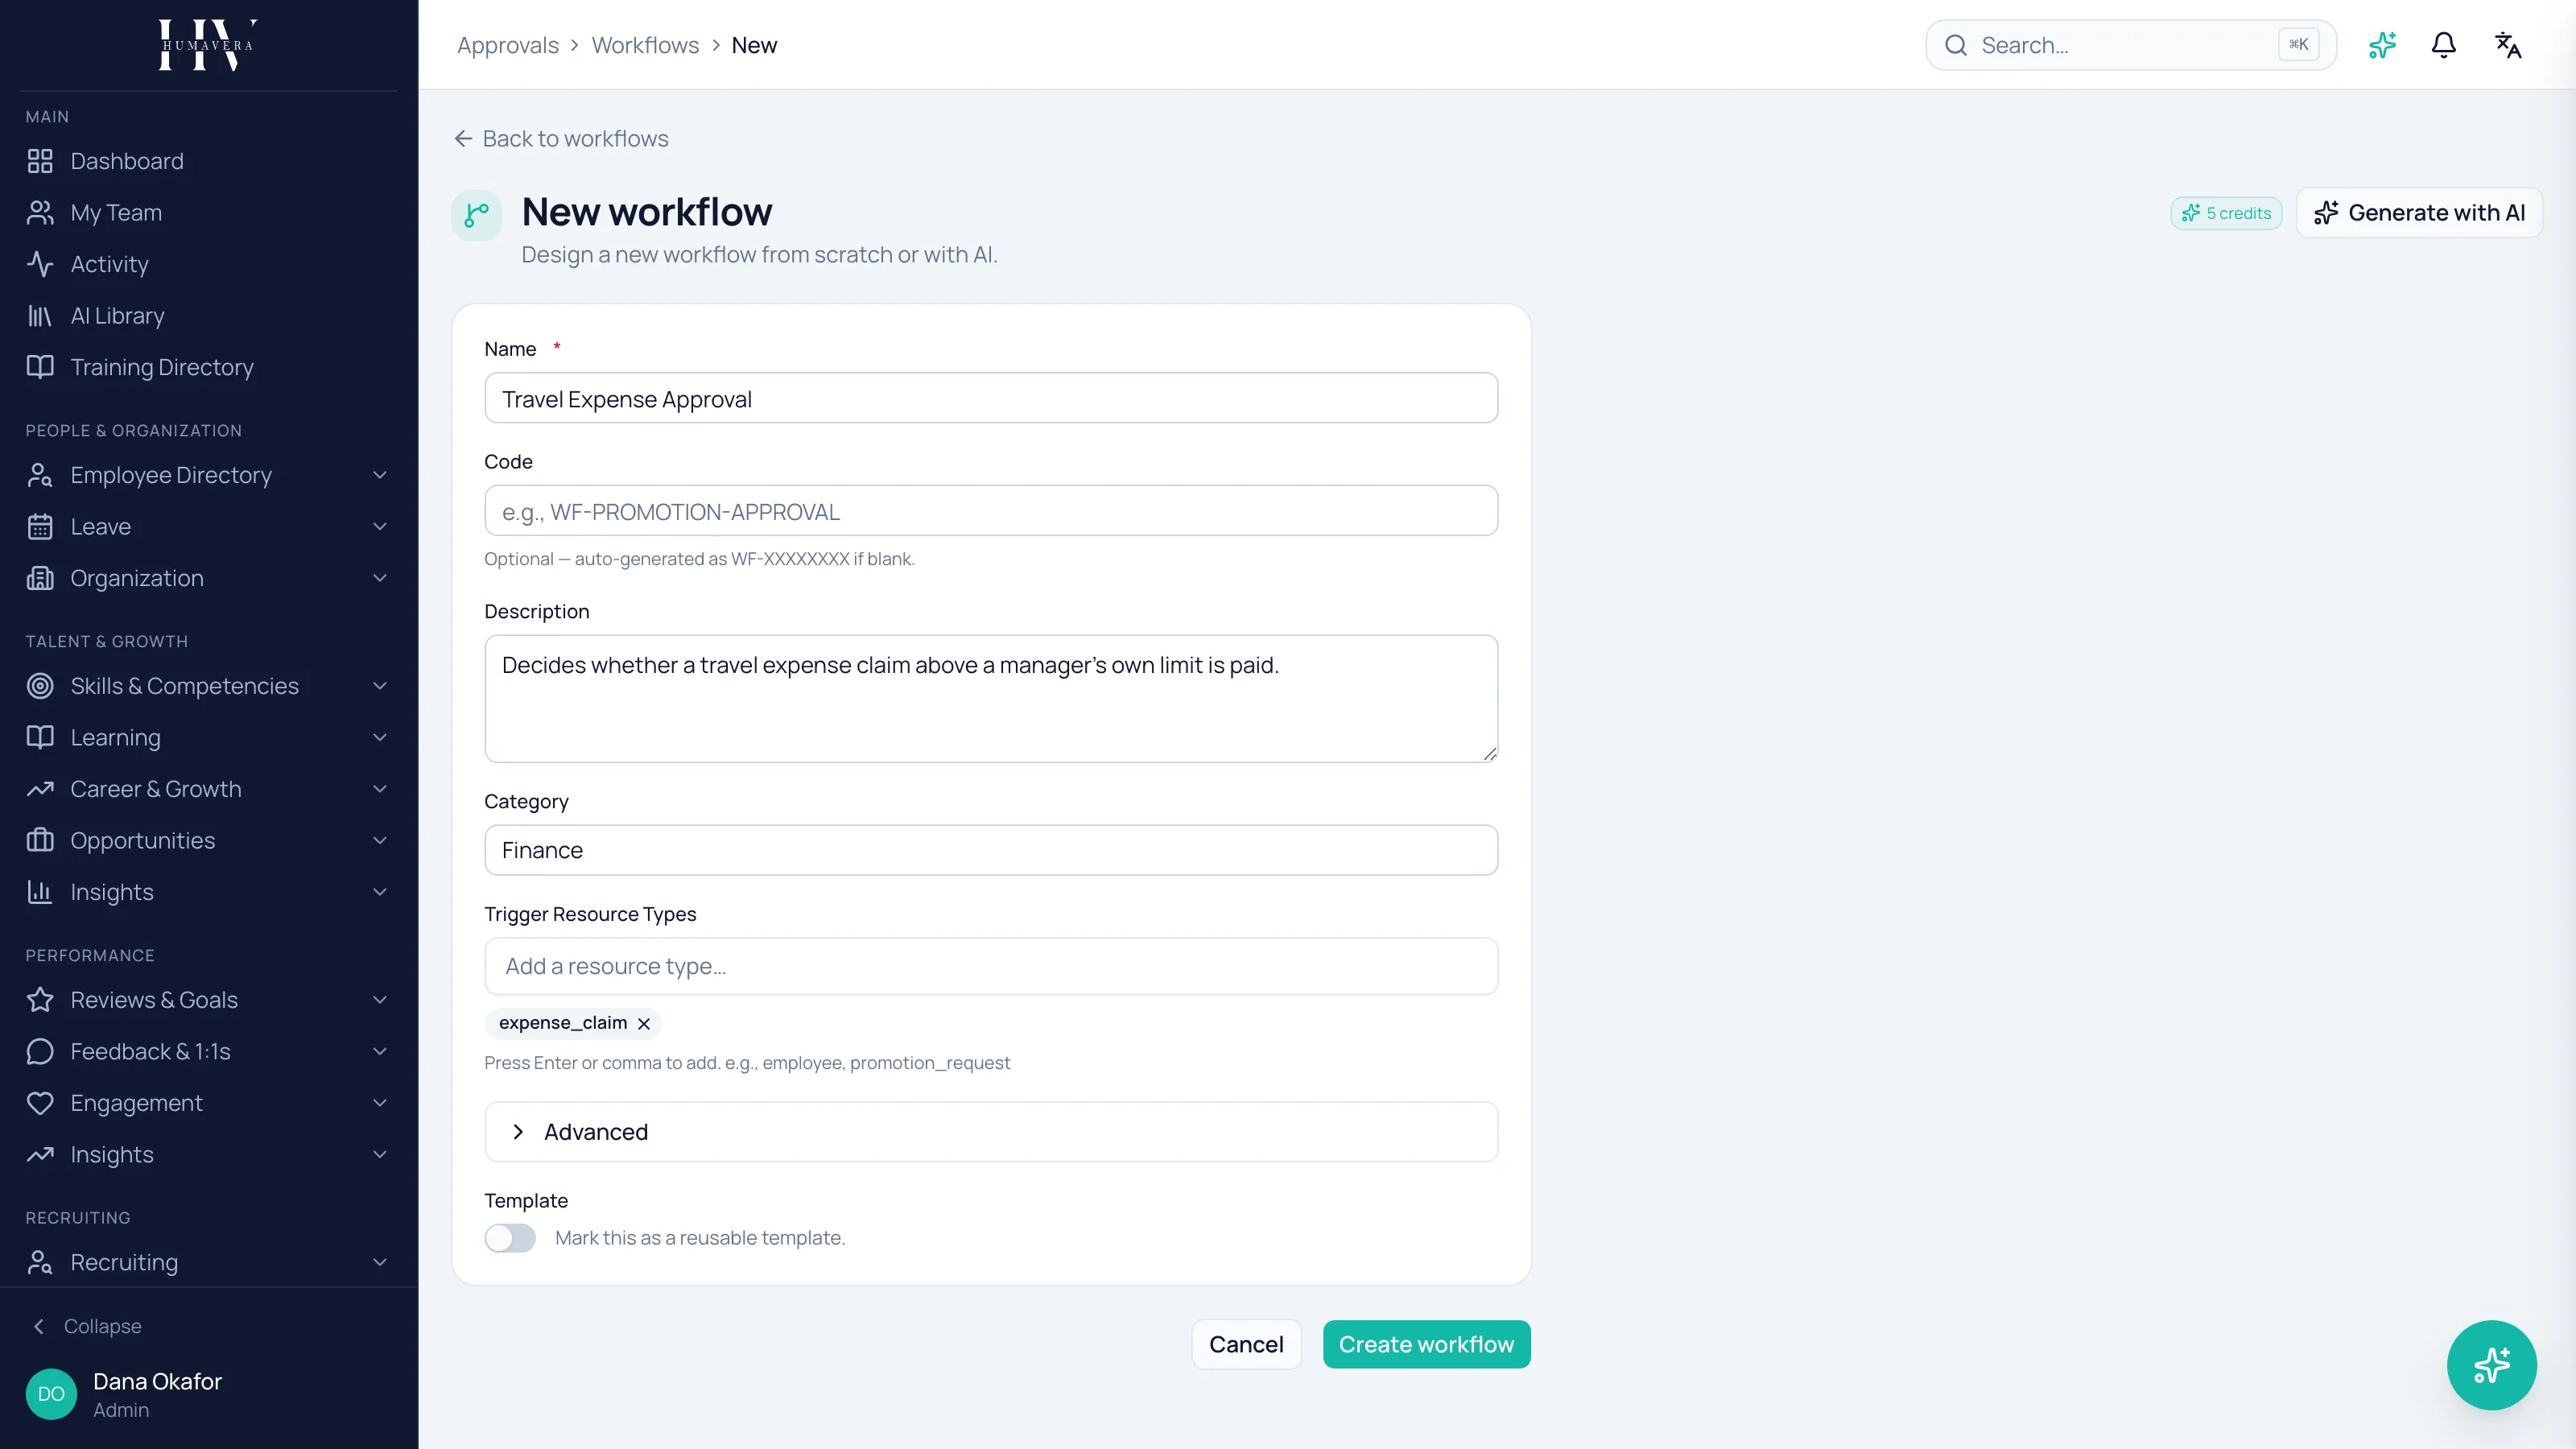
You land in the designer on a new, empty draft version. Nothing has been published, and no request can reach the workflow yet.
Fields on this screen
Section titled “Fields on this screen”| Option | Description |
|---|---|
| Name | What the workflow is called everywhere it appears — in the list, on a task in an approver’s inbox, and in analytics. |
| Code | A short identifier, for example WF-PROMOTION-APPROVAL. Optional; one is generated if you leave it blank. |
| Description | What this workflow decides. Worth writing, because whoever inherits it will read this first. |
| Category | A grouping of your own choosing, such as HR, Compliance, or Finance. It filters the list. |
| Trigger Resource Types | The kinds of request this workflow is intended to handle. |
| Template | Marks the workflow as a reusable starting point rather than a route you intend to run. |
| Template Category | The group a template appears under. Available once Template is on. |
Example: HC Corp creates Promotion Approval, categorised under HR, for promotion requests. The name is what Olivia Bennett will see at the top of the task when she is asked to decide one.
Advanced fields
Section titled “Advanced fields”Advanced holds two optional fields describing the data a request carries: a context schema and a sample context. The sample is the data your simulations run against, so filling it in is what makes testing the route against realistic values possible later.
Leave both empty if you are not sure. Neither is needed to build or publish a route.
Starting from a template
Section titled “Starting from a template”The Templates tab on the workflows list holds workflows marked as templates, grouped by category. Use Template creates a workflow from one, which you then edit as your own.
A template is a starting shape, not a policy. Read every step before publishing — the approvers and deadlines in a template are examples, not your organization’s.
The list, and what happens on it
Section titled “The list, and what happens on it”The workflows list shows each workflow’s name, code, status, category, owner, and current version. Status is the thing to watch:
| Option | Description |
|---|---|
| Draft | Being built. Nothing routes through it. |
| Active | In service. Requests can be routed to it where a binding says so. |
| Archived | Retired. Kept for the history of what it decided. |
Row actions cover the rest of the lifecycle:
| Option | Description |
|---|---|
| Activate | Puts a draft into service. Available only once a version has been published — a draft with no published version cannot be activated. |
| Archive | Retires the workflow. |
| Duplicate | Creates a draft copy under a new name. This is how you experiment without touching something live. |
| Delete | Removes the workflow from the list. |
What happens next
Section titled “What happens next”The workflow exists as a draft with an empty first version. Design the route on the canvas, validate it, and publish that version — publishing is what makes activation possible, and a binding is what decides which real requests reach it.
Related
Section titled “Related”© 2025-2026 Humavera Documentation - BPilot Ltd. All Rights Reserved